Every cajon that leaves our bench gets played into a microphone before it is boxed, so we have spent years learning where a mic hears the truth and where it hears a drawer. Recording a cajon is not hard, but almost every disappointing recording we get sent has the same cause, and it is never the instrument. It is placement. Here is the whole method: where the sound comes from, the studio setup, and the stage rig.
First, learn where the sound lives

A cajon is two instruments sharing one front plate. The bass note lives in the centre of the tapa. A palm strike there moves the whole panel, and the note leaves the box through the rear sound port. The slap lives at the top corners, where fingers land against the snare wires for the crack that cuts through a mix. Every mic decision that follows is just choosing the blend of those two, plus how much of the port’s air you are willing to catch.
In the studio: the two-mic setup

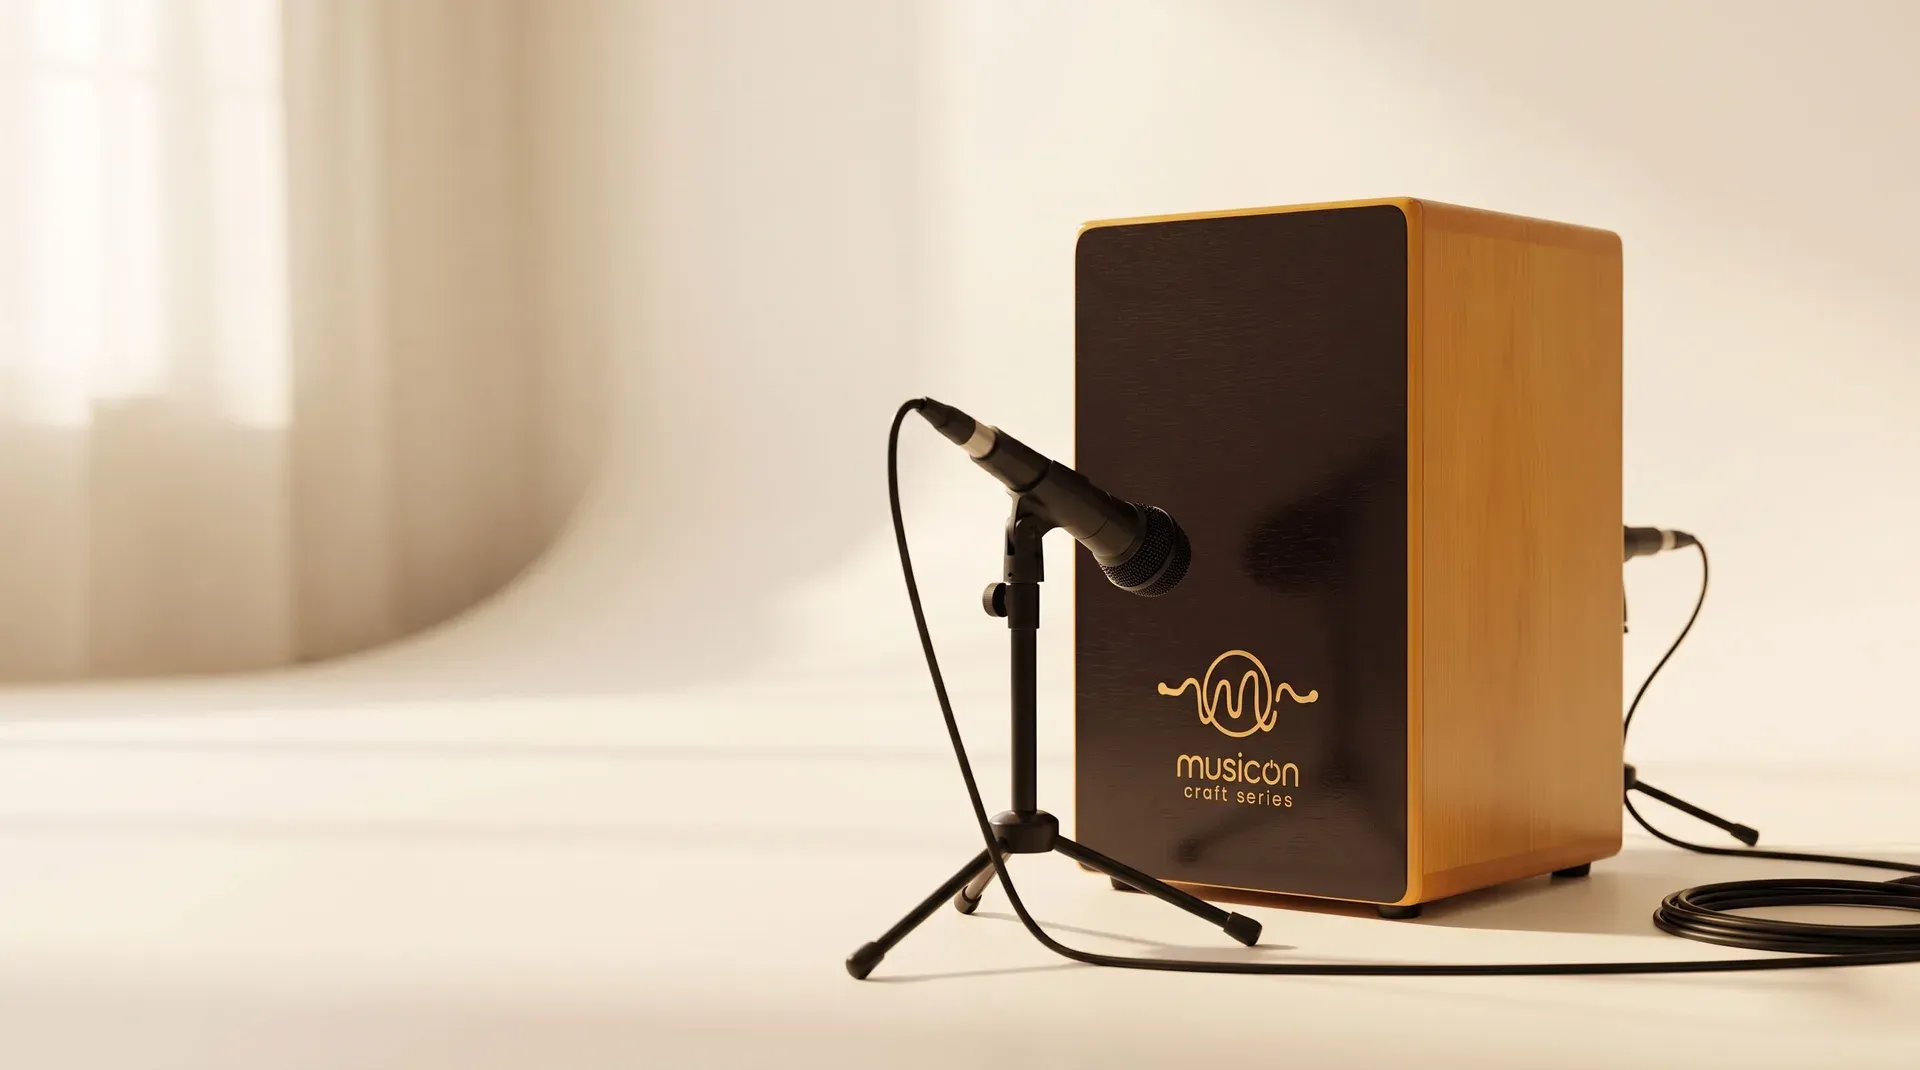
The front mic carries the performance. A small-diaphragm condenser or an SM57, ten to fifteen centimetres out, coming in from above the box’s top edge and angled down at the top third, slightly off-centre toward a slap corner. The from-above part is not optional: your hands swing through the space directly in front of the tapa, and a mic parked in that arc gets knuckled by the third song. Closer than ten centimetres and every note booms with proximity effect; past fifteen the room starts talking over the instrument. This mic alone already sounds like a cajon. Everything else is reinforcement.
The rear mic adds the chest. Place a dynamic five to ten centimetres from the sound port, genuinely that close, and angle it off-axis so the rush of air on every bass note misses the capsule instead of thumping it. The angle costs you no kick: bass frequencies leave the port in every direction, only the air jet travels straight, so proximity sets the weight and the angle handles the wind. If the blend feels thin, move this mic closer before you touch an EQ. Then the one step people skip: flip the polarity on the port mic. It hears the panel moving from the opposite side, and without the flip the two mics cancel. You raise both faders and the low end gets thinner. If the bass blooms when you flip it, you did it right.
Blend to taste from the front mic down: start with the tapa mic at full and bring the port mic up until the low end feels like a hand on your chest, then stop. On a solid-timber box with real sustain, a room pair two or three metres back is worth printing too; that decay is what you paid for.
On stage: one mic that survives the night

Live is a different problem: spill, feedback, and knees. Skip the front mic entirely. A stand in front of the tapa gets hit within three songs, and a vocal condenser there feeds back before the cajon is loud enough to matter. One dynamic at the rear port does the job: a hand-span back, forty-five degrees off the port’s axis. You keep all the low end, lose the wind, and the box itself stands between the mic and the monitor wedge. That geometry is most of your feedback headroom, and it costs nothing.
Ask the engineer for a high-pass around 60 Hz to tame stage rumble and a small cut near 400 Hz if the box sounds cardboardy through the PA, then stop mixing. And if you play plugged rooms every week, this is exactly the problem a built-in pickup solves: our Custom Series fits one inside the box, wired to a rear jack, so the cajon carries a room with no stand in front of it at all.
Which microphones actually work
Our bench standard, and what every demo on this site is recorded with: a Shure Beta 57A on the tapa and an SM58 at the port. Nothing exotic. Any working dynamic (57, 58, e845, the karaoke mic in the shop drawer) beats an expensive condenser placed badly, and on stage a dynamic you can trust beats everything. Spend on placement time, not on gear.
Five mistakes that flatten a cajon
- Pointing the mic straight into the sound port, so every bass note arrives as a blast of wind instead of a note.
- Forgetting the polarity flip on a two-mic setup, then EQing for an hour to find the missing low end.
- Micing the centre of the tapa, which records all boom and no slap, however good the player.
- Chasing bass with EQ when the mic is simply too far from the port. Move it closer before you touch a knob.
- Gating the port mic hard on stage, where the gate clips the bass note’s bloom and turns the cajon into a kick drum.
The box already knows how to sound good. The microphone’s job is to stay out of the way.
That is the entire method: one diagram per situation, one polarity flip, and restraint. If you record one of ours and it still will not sit right, message the workshop with a clip; placement problems are usually audible within seconds, and we would rather help than let a good box be remembered as a bad recording.